
How to Sew a Simple Tote Bag from Fabric Scraps
Turn leftover fabric into a lined, sturdy tote bag with reinforced handles — a beginner-friendly sewing...

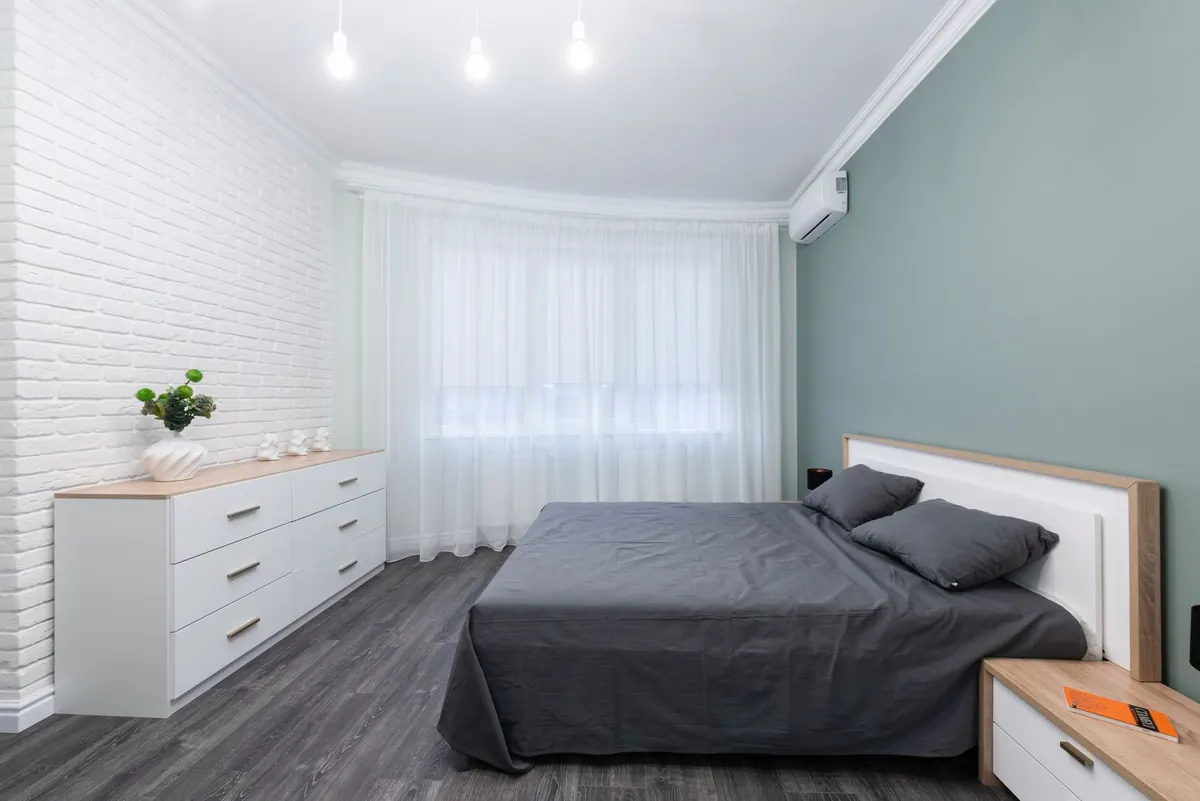
A chest of drawers is one of the kindest pieces to learn on. The surfaces are mostly flat, the drawers lift out, and the handles unscrew, so you can work in small sections instead of wrestling with a whole wardrobe. Chalk paint suits that approach: it grips to most existing finishes without aggressive sanding, dries quickly, and gives that soft, matt, hand-finished look that sits well on everything from Victorian pine to a tired veneered chest.
What it won't do is cover up poor preparation. Flaking varnish, greasy polish and old wax need to be removed or stabilised before you open the tin. Chalk paint is forgiving, but it is not a filler, a primer and a magic eraser all at once. If the surface is dirty, the paint may crack or peel; if the veneer is lifting, a fresh colour will only make that lifting more obvious. The good news is that preparation on a chest of drawers is usually straightforward. Clean it, repair it, dull any shiny finish, and you give the paint a base that can last for years.
Chalk paint is popular for furniture upcycling because it behaves more like a decorative finish than a traditional glossy paint. It can be applied thinly, sanded back for a worn look, and sealed with wax, lacquer or oil depending on how much traffic the piece will see. A chest of drawers is ideal because most of its surface is simple: the top, the sides, the drawer fronts and the frame. You can paint the drawers separately, which means you can work on one piece at a time without the whole project becoming overwhelming.
It also lets you lean into the character of the piece. A Victorian pine chest with turned knobs and carved corners can look wonderful in a soft off-white, while a plain mid-century chest may suit a deep green, navy or charcoal. Chalk paint can be distressed, glazed, stencilled or left clean and modern. The same technique that creates a French farmhouse look can also create a sharp, contemporary finish if you choose the right colours and hardware.
Take everything out of the drawers and remove the drawers from the carcass. Label each drawer on the back or underside with a small piece of tape, because drawers often settle into a particular opening and may not slide as smoothly if you swap them around. Check the piece for damage: loose joints, water stains, chipped veneer, missing knobs, broken runners or old woodworm holes. Decide now whether you are restoring, concealing or celebrating the damage. A little wood filler can repair a gouge, but deep scratches and missing veneer may need to be built up slowly in thin layers.
Furniture polish, kitchen grease and household dirt are the enemies of a lasting finish. Wash the whole chest with a degreaser or a weak sugar soap solution, then wipe it down with a clean damp cloth and let it dry completely. Pay extra attention to handles, drawer edges and the top, where hands and sprays leave the most residue. If the wood feels tacky or waxy even after cleaning, wipe it again with a cloth dampened with denatured alcohol or a specialist degreaser. Do not soak the wood; you want to remove surface contamination, not waterlog the piece.
Fill any dents, cracks or screw holes with a good wood filler. When it is dry, sand it flush with the surrounding surface. If the existing finish is very shiny, dull it lightly with a fine sanding pad. You are not trying to strip the chest back to bare wood. You are simply creating a slightly rough surface that gives the chalk paint something to grip. Wipe away all sanding dust with a damp cloth. If you are working on a piece with dark stain or knots that may bleed through, apply a shellac-based primer over those areas first.
Remove handles, knobs, keyhole escutcheons and any metal trim. Put the screws in a labelled bag so you know where they belong. If you are keeping the original hardware, clean it with a metal polish or a little wire wool depending on the finish. If you are replacing it, measure the spacing between screw holes before you shop so the new handles fit without extra drilling. Mask off any areas you do not want painted, such as glass, mirrors, fabric liners or labels. A small piece of masking tape over a keyhole can save you a lot of fiddly cleaning later.
Stir the chalk paint thoroughly. Do not shake the tin, as this can create bubbles that show up in the finish. Load your brush lightly and apply the paint in thin, even strokes. Work on the carcass first, then the drawer fronts, but keep the drawers separate so you can reach all the edges. On large flat areas, use a foam roller and then lay off the roller marks with a dry brush. Don't overwork the paint. Chalk paint starts to dry quickly, and if you keep brushing over the same spot, you will pull it around and create a patchy surface. The first coat will look thin and uneven. That is normal.
Tip: Paint in the direction of the grain where you can. On drawer fronts, work from the centre outwards so the finish feels balanced rather than brushed in one heavy direction.
Let the first coat dry according to the tin instructions. Once it is dry, lightly sand the surface with a fine sanding pad or 320-grit paper. You are only knocking back nibs and brush marks, not removing the paint. Wipe off the dust. Apply a second thin coat. Most chests need two coats for good coverage, but a dark colour over a pale surface, or a pale colour over a dark stain, may need three. Keep the coats thin. Two thin coats always look better than one thick coat, which can chip, crack or stay soft for days.
If you want a vintage, lived-in look, distress the edges after the paint is dry. Use a fine sanding pad on corners, drawer edges and raised mouldings, and sand gently until the original wood or undercolour peeks through. Go slowly, because it is easy to overdo it. For a softer, aged effect, apply a clear glaze or dark wax over the paint and wipe most of it away, leaving it in recesses and corners. This adds depth and makes detailed carvings stand out. If you prefer a clean modern finish, skip this step entirely and move straight to sealing.
Chalk paint needs a protective topcoat, especially on a chest of drawers that will be used daily. Clear wax gives a soft, natural finish and can be buffed to a gentle sheen. Apply it thinly with a wax brush or lint-free cloth, working in small sections, then buff after about twenty minutes. Dark wax can be used over clear wax for an antique look, but always test it on an unseen area first. For a more durable, wipeable finish, use a water-based furniture lacquer or varnish instead. Lacquer is a good choice for children's rooms, hallways or any piece that will take a lot of wear.
Once the topcoat has cured, reattach the hardware. If the old holes are worn, fill them with a wooden matchstick or a little wood filler and drill new pilot holes if needed. Rub a little candle wax or soap along the drawer runners so they slide smoothly, but do not wax the painted sides of the drawers, as this can attract dust. Consider lining the drawers with wallpaper, cork, felt or a simple patterned paper for a neat finishing touch. Reassemble the chest, step back and check the alignment of the drawers. Adjust the runners or stops if anything sticks.
The colour you choose changes the whole personality of the piece. Soft whites, greys and sage greens feel calm and cottage-like. Deep blues, charcoal and forest green feel more dramatic and work well in bedrooms or hallways. If you want the chest to blend into a neutral room, choose a colour close to the walls but a shade or two deeper. If you want it to be a focal point, pick a stronger colour and keep the hardware simple. New knobs are one of the quickest upgrades: brass for warmth, black iron for rustic character, ceramic for a vintage feel, or leather pulls for something modern. Match the hardware to the style of the chest rather than forcing a trend onto it.
Chalk paint is versatile, but it is not always the best answer. If a chest is a valuable antique, heavily veneered, or has significant historical finish, you may want to restore it rather than paint it. If the piece is made from MDF or melamine with a very slick surface, you may need a specialist primer or a different paint system. If it will live in a damp bathroom or a busy kitchen, a harder-wearing cabinet paint or lacquer may be more practical. And if the wood grain is beautiful, sometimes the kindest thing you can do is clean it, repair it and oil it rather than cover it up.
Upcycling a chest of drawers with chalk paint is less about rushing to the finished colour and more about respecting the piece underneath. Take your time with cleaning and small repairs, apply thin coats, seal the surface properly, and let the paint cure before you load the drawers again. The result is a chest that fits your home, suits your style and has a story you helped write. Start with one small chest, learn how the paint behaves, and you will soon be looking at every tired piece of furniture as a potential blank canvas.
Photo: Max Vakhtbovych / Pexels
Turn leftover fabric into a lined, sturdy tote bag with reinforced handles — a beginner-friendly sewing...
A beginner-friendly macramé plant hanger for small UK flats, with three simple knots, exact cord lengths,...
A practical guide to making an autumn wreath from foraged leaves, vines and berries, with simple drying...