How to Sew a Simple Tote Bag from Fabric Scraps
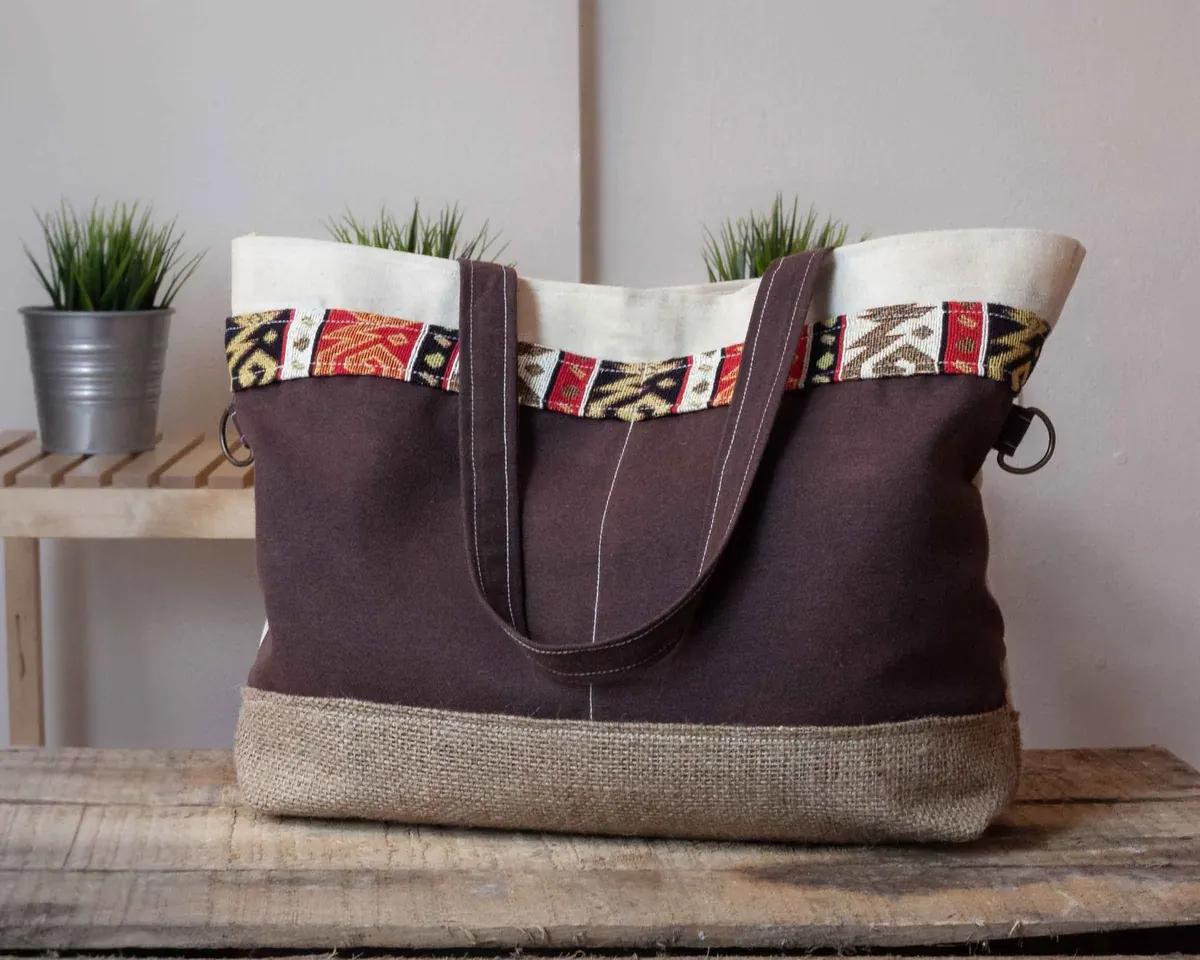
Turn leftover fabric into a lined, sturdy tote bag with reinforced handles — a beginner-friendly sewing...


Reclaimed scaffold boards turn up in the strangest places. The end of a building job. The back of a mate's van. A hopeful stack at the reclamation yard. They are thick, wide and covered in marks that new timber spends years imitating, which makes them ideal for chunky floating shelves. You don't need a workshop or a fortune in fixings — a circular saw, a sander and a sensible plan will get you there. Here's how to measure, cut, finish and hang them so they look deliberate rather than improvised.
Most scaffold boards are around 225mm wide and 38mm thick, and they come in long lengths, often 3.9m. That thickness is the important part. A shelf with real depth to it can span a decent gap without drooping under the weight of books, and it reads as furniture rather than a plank screwed to plasterboard. The other advantage is character. Chatter marks from the sawmill, cement splashes, filled nail holes, a bit of grey weathering — all of that is free, and none of it can be bought in a flat-pack.
Be choosy, though. Set each board on a flat surface and sight along it. Reject anything with rot, deep splits, or a twist you cannot pull out with fixings. A gentle cup is usually workable. A banana isn't.
Nothing on that list is specialist. If you already do a bit of woodwork, you probably own most of it.
Start with the wall, not the board. Measure your shelf run in three or four places, because plaster walls are rarely straight and corners are rarely square. Decide the height with the contents in mind: roughly 350–400mm between shelves for paperbacks and hardbacks, less for a display run of small objects, more if you're stacking A4 folders. Above a desk, leave enough clearance for a monitor and a lamp.
Find the studs before you commit to a layout. Knock along the wall until the sound changes, or use a detector, and mark each one in pencil. Avoid drilling into the vertical strips above and below sockets, switches and radiators, where cables and pipes usually run. If a shelf needs to land somewhere with no stud behind it, plan for that now rather than discovering it with a drill bit in your hand.
Before the saw comes out, run a magnet or metal detector over the whole board. Reclaimed timber hides broken screws, staples and nails, and a hidden fixing will ruin a blade and give you a fright.
Mark your cut line with a square, then score it lightly with a knife to reduce tear-out on the face you'll see. Clamp a straightedge to guide the saw and cut on the waste side of the line, so you can tidy up with a plane or sander if needed. Support the board on both sides of the cut — offcuts falling away halfway through are how boards split. Take it slowly, especially at the end, and let the blade do the work.
Sanding is where a scruffy board becomes a shelf. Work through the grits in order: 80 to remove grime, splinters and raised grain, 120 to smooth, 180 to refine. Skipping a grit means the next one has more work to do, and the finish suffers for it. Use a random orbital sander where you can and a sanding block in the corners, and keep the machine moving so you don't dish the surface.
The marks you can't sand out are the ones worth keeping.
The dark rings around old nail holes, the faint saw marks, the odd patch of grey — that's why you're using scaffold boards instead of pine from a merchant. Stop when the timber feels smooth to the back of your hand. Do wear a mask and work outside or with good extraction: reclaimed boards have sometimes been treated with preservative or fire retardant, and you don't want to breathe the dust.
Ease the front edges with a few strokes of a sanding block or a small roundover bit in a router. A crisp 90-degree edge looks sharp on a worktop and uncomfortable on a shelf at shoulder height.
Boards that have spent months outdoors often cup across their width. If it's mild, orient the cup facing upwards — the middle of the shelf dips slightly, which is barely noticeable and helps stop things rolling off. If it's severe, rip the board down the middle, flip one half, and glue or screw it back together along the joint. You lose a little width, gain a flat shelf, and the join reads as a design detail.
Floating means no visible bracket, and there are two approaches worth using.
These are steel rods on a plate. The plate screws to the wall and the rods slide into holes drilled into the back edge of the shelf. Choose a set rated for the load you have in mind and follow the maker's measurements exactly, because a millimetre out and the shelf won't sit flat. Mark the hole positions on the back edge, drill slightly oversize to allow for the rods, and keep the holes deep enough to take most of the rod length. They work beautifully on a 38mm board, but they aren't suitable for heavy loads over long spans.
The stronger DIY option. Screw a timber batten to the wall, fixed into studs or solid masonry. Then cut a matching rebate along the back of the shelf with a router, or a couple of passes with a circular saw set to the batten's depth. Make the rebate slightly wider than the batten so the shelf slides on without fighting. The shelf slots over the batten and sits tight to the wall. Add a couple of screws up through the underside if it needs to come off again, or glue it if it doesn't.
Sometimes the wall decides for you. A visible batten underneath, painted the same colour as the wall, looks deliberate — industrial rather than unfinished — and it will hold far more weight than a concealed fixing. There's no shame in it.
Whatever method you use, the shelf is only as strong as the wall behind it. Plasterboard alone won't hold a loaded shelf. Screw into studs, or use masonry plugs if you're drilling into brick, block or stone. Heavy-duty hollow wall anchors are available for plasterboard and they're fine for light displays, but a shelf carrying books deserves a stud or a solid wall. If you're unsure, ask at a timber merchant or get a carpenter to look at it. A shelf coming down takes the wall with it, along with whatever was on top.
Oil brings out the grain and protects the surface without the plastic look of a hard varnish. Two or three thin coats of hard wax oil or Danish oil, applied with a cloth, left to soak in, then wiped back, will do it. Denib lightly between coats with a fine abrasive pad. Finish the underside at the same time as the top — timber takes on and loses moisture through all faces, and sealing one side only encourages the board to cup.
Give the oil a day or two to cure before you load the shelf. Then check the fixings after a week, and again after a change of season, since timber and plasterboard both shift a little. A quarter-turn on a screw now and then is cheaper than a repair.
One last thing: keep a photograph of the wall before you hang anything, or a quick pencil sketch of where the studs and battens sit. When you eventually move a shelf, you'll be glad you did.
Photo: jarmoluk / Pixabay
Turn leftover fabric into a lined, sturdy tote bag with reinforced handles — a beginner-friendly sewing...
A beginner-friendly macramé plant hanger for small UK flats, with three simple knots, exact cord lengths,...
A practical walkthrough of transforming an old chest of drawers with chalk paint, covering cleaning,...