How to Sew a Simple Tote Bag from Fabric Scraps
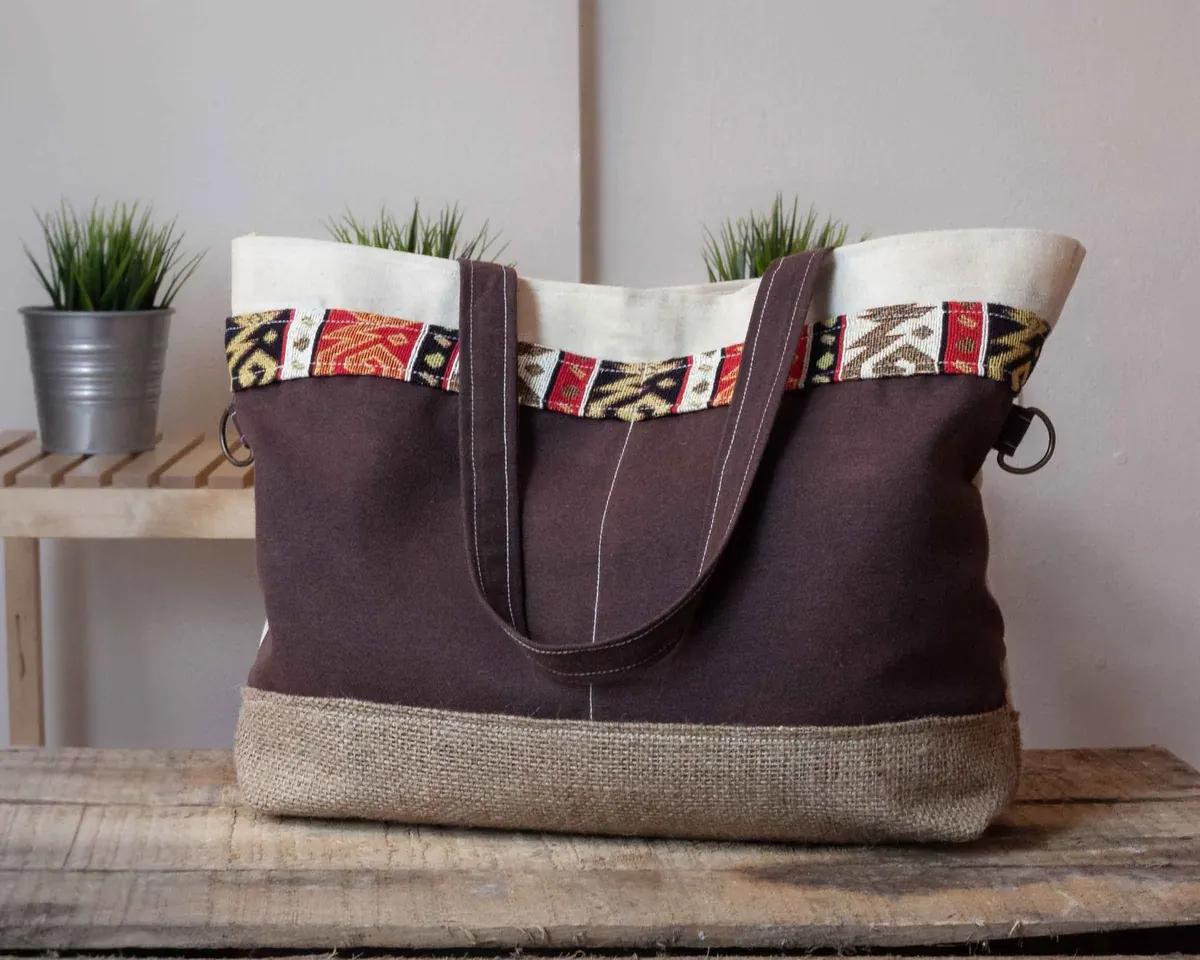
Turn leftover fabric into a lined, sturdy tote bag with reinforced handles — a beginner-friendly sewing...


Hot glue is the tool most crafters reach for first and think about least. It sets in seconds, costs pennies, and turns up in everything from wreaths to a wobbly drawer knob that needed fixing an hour before guests arrived.
That speed is where the trouble starts: a gun that drips, a bond that peels off a glass jar, a web of strings across a painted bauble, a blister on your thumb. None of it is bad luck. It comes down to a handful of habits that are easy to change.
Hot glue is genuinely hot, and it sticks to skin on contact. Pulling it off straight away takes skin with it. If you catch a burn, do not peel the glue; hold the area under cool running water for at least twenty minutes and let the glue harden and lift on its own. For anything more than a small, superficial burn, or any burn on a child, seek medical advice.
The best burn treatment is prevention, and it takes less effort than most people assume. Keep the gun on its stand between uses, never set it on its side, and keep the nozzle pointed away from your fingers. Low-temperature guns and low-temp glue sticks still get hot enough to bond paper, fabric, and foam, but they buy you a little more reaction time. If you are working with children, use a low-temp gun, supervise closely, and set clear rules about where hands can go.
Most hot glue injuries happen in the second between setting a piece down and reaching for the next one. Slow that second down.
Not all hot glue is the same. A high-temp gun is the workhorse for wood, metal, ceramics, and heavy craft projects. It gives a stronger bond and a longer open time, but it can damage foam, delicate fabric, and thin plastic. A low-temp gun is safer for paper, ribbon, foam, and children’s crafts, though the bond may not hold up to heat or weight.
Use these for structural repairs, wreath forms, wooden frames, and anything that will hang or bear weight. They are also useful for bonding metal and glass, provided you prepare the surface properly. The trade-off is a greater risk of burns and melted materials.
These are ideal for floral arranging, paper crafts, foam projects, and quick fixes around the house. They still set fast, but they are more forgiving on heat-sensitive surfaces. Keep a few glue sticks on hand and match the stick to the gun; some formulas are designed for specific materials like fabric or high-strength bonding.
If you are unsure, test on a scrap of the same material. A five-second test can save a ruined project and a lot of frustration.
A little hot glue goes a long way, but the gun makes it easy to keep squeezing. A thick blob does not make a stronger bond. It makes a slower-setting mess that oozes out the sides, burns fingers, and leaves a lumpy surface. In many cases, too much glue actually weakens the bond because the outer edges cool and harden before the center is pressed into place.
Think in dots, lines, and spot welds. For small pieces, a single dot is often enough. For longer edges, run a thin bead and press immediately. If you are attaching a hook to a drawer, use a small circle of glue plus a little pressure, not a golf-ball-sized mound.
Hot glue is not a magic adhesive. It bonds best to clean, dry, slightly textured surfaces. Dust, oil, wax, and moisture all interfere. Glass and metal are especially tricky because smooth surfaces give the glue little to grip. That is why a hook glued to a glass jar often pops off the first time you hang something on it.
Before you glue, take a minute to prepare:
For glass, metal, and some plastics, a specialized adhesive may be a better choice. Hot glue can work, but it may need a larger surface area, a roughened edge, or a mechanical support like a wire or bracket. Do not rely on hot glue alone for anything valuable, heavy, or likely to get hot.
Hot glue sets in seconds, but that does not mean it is instant. Many crafters either press a piece for one second and let go too soon, or they hold it for a full minute and wonder why the bond still feels soft. The correct pressure and timing depend on the material, the glue temperature, and the size of the bead.
As a rule, press the pieces together firmly for five to ten seconds. For larger or heavier items, support the joint for thirty seconds or more, then let it cure undisturbed for a few minutes. If you are gluing something that wants to spring apart, use painter’s tape, clothespins, or a rubber band to hold it while the glue cools.
Stringy glue is one of the most common complaints. It happens when the glue is too hot, when the nozzle has a buildup of old glue, or when you pull the gun away too quickly. A web of thin strings can ruin a painted bauble or a fabric flower in an instant.
If strings land on your project, do not try to wipe them while hot. Let them cool completely, then pick them off with tweezers or a craft knife. For fabric, a lint roller can lift away stray strings without smearing the glue.
Hot glue is versatile, but it is not the right adhesive for every job. It softens in high heat, can crack in extreme cold, and may fail on flexible or oily surfaces. Avoid using it for:
For those jobs, choose a suitable craft adhesive, epoxy, silicone, or mechanical fastener. Hot glue is a fast fix, not a permanent engineering solution.
Most glue-gun mistakes are really setup mistakes. If your workspace is cluttered, you will rush, drip, and burn yourself. A simple glue station keeps everything within reach and makes the whole process cleaner.
This setup takes two minutes and prevents the frantic reaching that leads to burns and messy bonds.
Every glue gun has its own personality. Some drip more, some run hotter, some need a longer warm-up. Before you touch your final project, make a few test bonds on scraps of the same material. You will learn how fast the glue sets, how much pressure to use, and whether the bond holds.
If a bond is wrong, do not yank it apart. For many surfaces, a drop of isopropyl alcohol at the glue edge can help release it. For small pieces, place the item in the freezer for a few minutes; the glue becomes brittle and can often be peeled away. You can also warm the glue with a hair dryer on low to soften it, but be careful not to damage the material. Always let the glue cool before scraping with a plastic card or fingernail.
The crafters who get the best results from a hot glue gun are not using secret techniques. They simply respect the tool. They use the right temperature, prepare the surface, apply less glue than they think they need, and press with patience. They keep the nozzle clean, the workspace clear, and their fingers out of the way.
Change those habits and the same glue gun that once left strings, blobs, and burns will become what it was meant to be: a fast, reliable helper for almost any project. Start with one fix today, whether it is buying a low-temp gun for the kids, wiping the nozzle after every use, or testing a bond before committing. Your fingertips and your finished projects will both thank you.
Photo: volfdrag / Pixabay
Turn leftover fabric into a lined, sturdy tote bag with reinforced handles — a beginner-friendly sewing...
A beginner-friendly macramé plant hanger for small UK flats, with three simple knots, exact cord lengths,...
A practical walkthrough of transforming an old chest of drawers with chalk paint, covering cleaning,...